Quick Start
Get up and running with EnvGuard in under 5 minutes.
1. Install EnvGuard
bash
# macOS / Linux
curl -sSL https://github.com/firasmosbehi/envguard/releases/latest/download/envguard-$(uname -s | tr '[:upper:]' '[:lower:]')-$(uname -m | sed 's/x86_64/amd64/') -o /usr/local/bin/envguard
chmod +x /usr/local/bin/envguard
Verify the installation:
bash
envguard version2. Create a Schema
Create envguard.yaml in your project root:
yaml
version: "1.0"

env:
  DATABASE_URL:
    type: string
    required: true
    description: "PostgreSQL connection string"
    format: url

  PORT:
    type: integer
    min: 1024
    max: 65535
    default: 3000
    description: "HTTP server port"

  DEBUG:
    type: boolean
    default: false
    description: "Enable debug mode"

  ALLOWED_HOSTS:
    type: array
    separator: ","
    default: "localhost,127.0.0.1"
    description: "Comma-separated list of allowed hosts"
3. Validate Your .env
Create .env:
bash
DATABASE_URL=postgres://localhost:5432/myapp
PORT=3000
DEBUG=true
ALLOWED_HOSTS=localhost,example.com
Run validation:
bash
$ envguard validate
✓ All environment variables are valid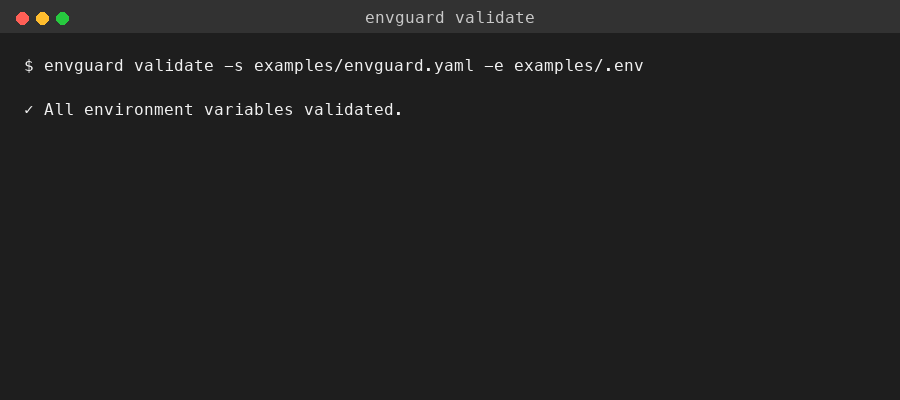
4. See It Fail
Introduce an error in .env:
bash
PORT=not-a-numberRun validation again:
bash
$ envguard validate
✗ PORT: expected integer, got "not-a-number"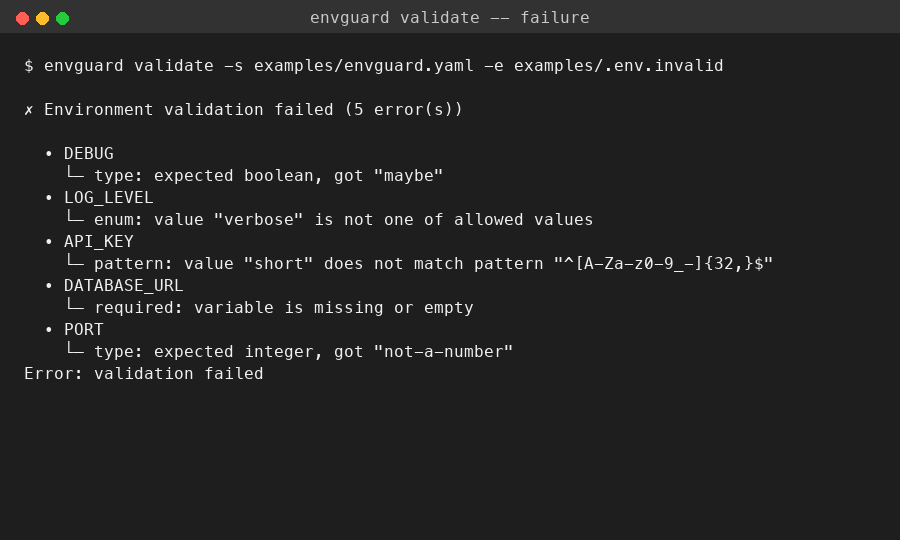
5. Generate a Starter Schema
If you already have a .env file, infer a schema from it:
bash
envguard init --inferOr start from scratch:
bash
envguard init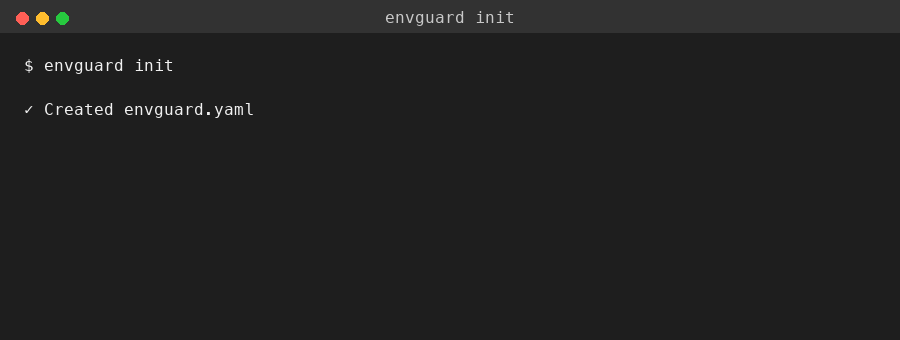
This creates envguard.yaml with types and formats auto-detected from your existing values.
Next Steps
- Learn about all validation rules
- Set up CI/CD integration
- Configure watch mode for live validation